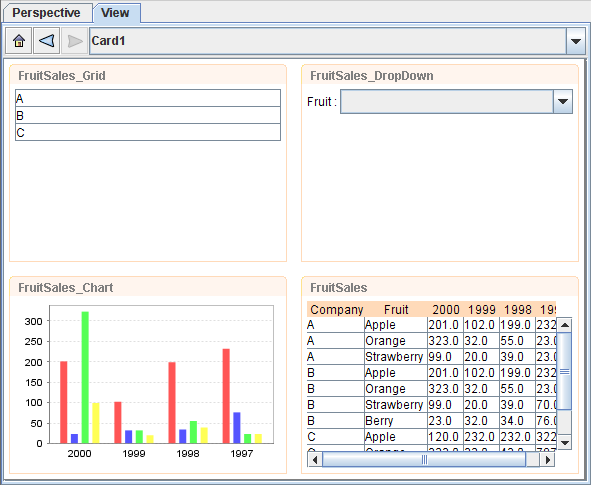
This case study will create a simple dashboard built upon the /ElixirSamples/DataSource/FruitSales.ds datasource.
- Select a FileSystem. Right-click to select Add->Perspective from the filesystem popup menu.
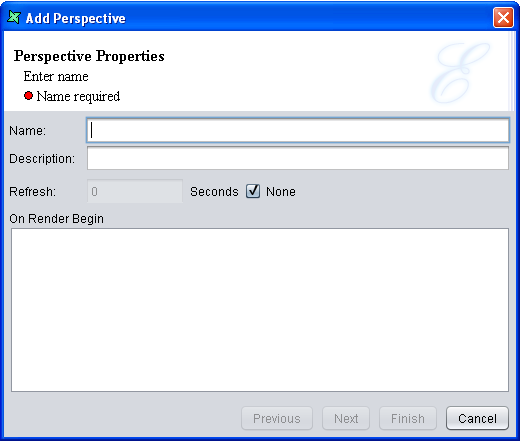
- When the Add Perspective window appears, enter a unique name and description for the Perspective and click Finish.
-
Drag FruitSales.ds from the repository to the workspace. On releasing of the mouse, a popup with
four different options will appear. It's for the user to select the element to add to the Perspective.
In this case, we will add a Table element by selecting
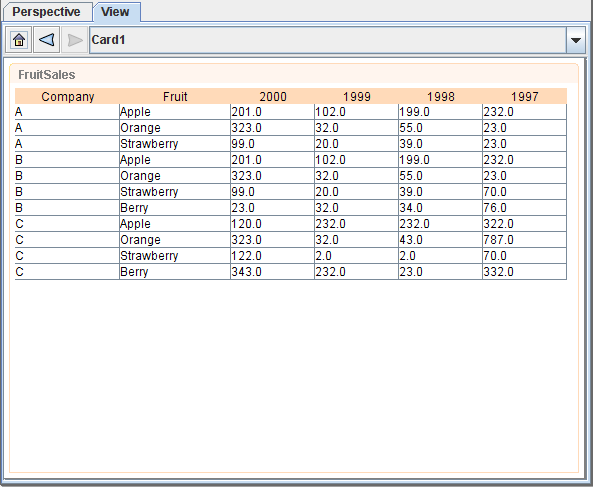
Add Table. - On clicking, a table with all the data from FruitSales.ds will be displayed. The Table element will appear.
-
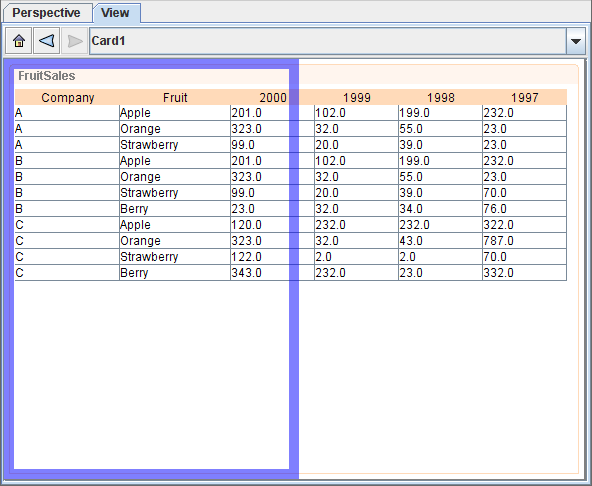
Drag FruitSales.ds into the workspace again. A blue box will be shown to indicate the
placement of intended content, as shown in Figure 1.7, “Placement of Intended Content”.
Over here, we will be placing it on the left of the table.
When the mouse-click is released, select
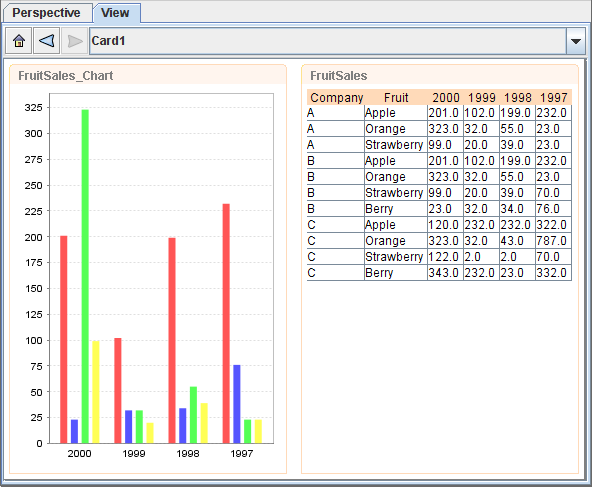
Add Chartand the content will be created on that region. - In the Add Content Wizard, change the name to "FruitSales_Chart" for easy reference.
- In this example, we will create a Column Chart with Fruit as the key and 1997, 1998, 1999 and 2000 as the values.
-
Now we will try creating a Grid element in the Perspective. Repeat step 1 to 3, but place the element
on top of FruitSales_Chart, select
Add Gridand change the name to FruitSales_Grid. -
At the next page of the wizard, select a field for the Grid element to display. Select
Company then click on
Finish. - Repeat step 9 and 10, place the element above FruitSales and change the name to FruitSales_DropDown.
-
In the Add Content Wizard, select Fruit as the field and check
the checkbox that says Show as Drop-Down List. In the
Labelfield, enter Fruit : . -
Repeat step 1 and 2. Place the blue region on the right of FruitSales_DropDown and
select
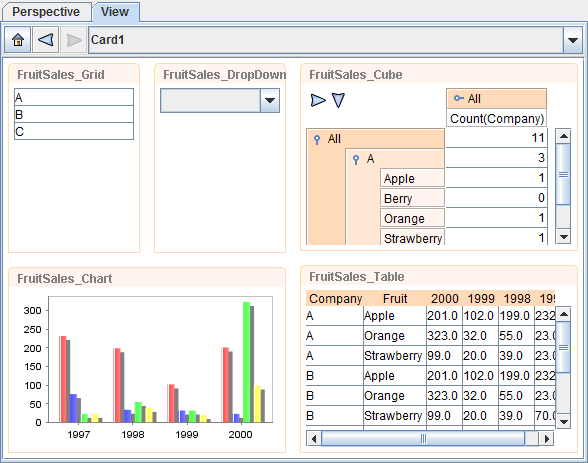
Add Cube. - Click through the wizard without changing any settings.
- You can adjust the height and width of each element by dragging the sides.
- At the end of this, the whole Perspective should look something as shown in Figure 1.10, “Completed Perspective”
