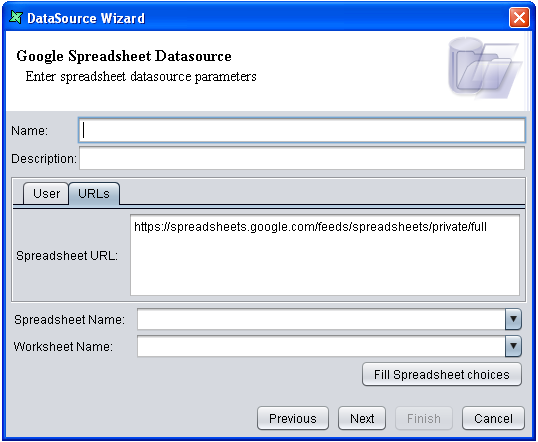
The Google Spreadsheet DataSource Wizard is shown in Figure 19.1, “Google Spreadsheet DataSource Wizard - User” and Figure 19.2, “Google Spreadsheet DataSource Wizard - URLs”
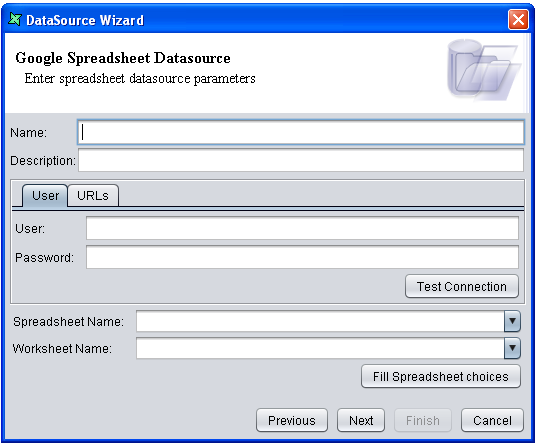
Name: Enter a unique name for the DataSource in the text box.
Description: Any additional description required to describe the data can be entered here.
On the User tab, fill in the following fields:
User: Enter your Google mail account.
Password: Enter your Google mail password.
After entering the user name and password, click the
Test Connection button to verify if the connection is successful.
On the URLs tab, the following field is automatically filled with information:
Spreadsheet URL: Leave the URL as it is.
Spreadsheet Name: Click the Fill Spreadsheet choices
button. Options for the spreadsheet name will display in the list. Choose one option to proceed.
Worksheet Name: After you click the
Fill Spreadsheet choices button, options for the worksheet name
will display in the list. Choose one option to proceed.
The next page of the wizard, seen in Figure 19.3, “Enter Google Spreadsheet Schema”, is for inferring the schema and editing it.
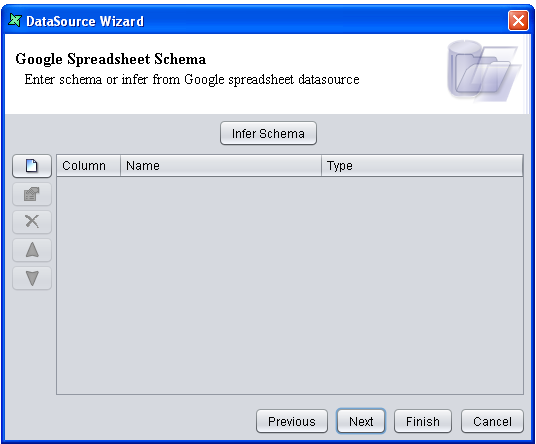
User can choose to enter the column names and data types explicitly or infer the schema using
the Infer Schema button. Column names and data types can be
edited after inferring.